

Here's what you will need:
- 1 piece of plain or neutral paper to print the calendar sheet on
- 2 pieces of printed scrapbook paper in coordinating colors or patterns-perfect for using scraps!
- Rubber Cement and adhesive photo mounting squares
- 6" of ribbon
- Embellishments, glitter glue, adhesive rhinestones and foam adhesive squares or dots (all optional). I used some from Making Memories and Heidi Swapp
I have designed a miniature printable tear-off calendar so that I wouldn't have to buy them and could make as many as I liked. You can print out the calendars from my Printables page here.

Print the calendar sheet on white or neutral colored paper. Cut each little square out (easier if you have a sliding blade cutter like this).

Stack the little mini calendar pieces together, in order of course! I like to keep them together with a few binder clips from Office Max but a paper clip will work in a pinch. You want to be sure that the edges are even before you use the adhesive, especially the top edge.

Take some rubber cement and dab it along the top edge of the calendar pages... it will make the stack of calendars into a tear-off notepad. I used about three coats of rubber cement, letting the calendars dry thoroughly between each coat.

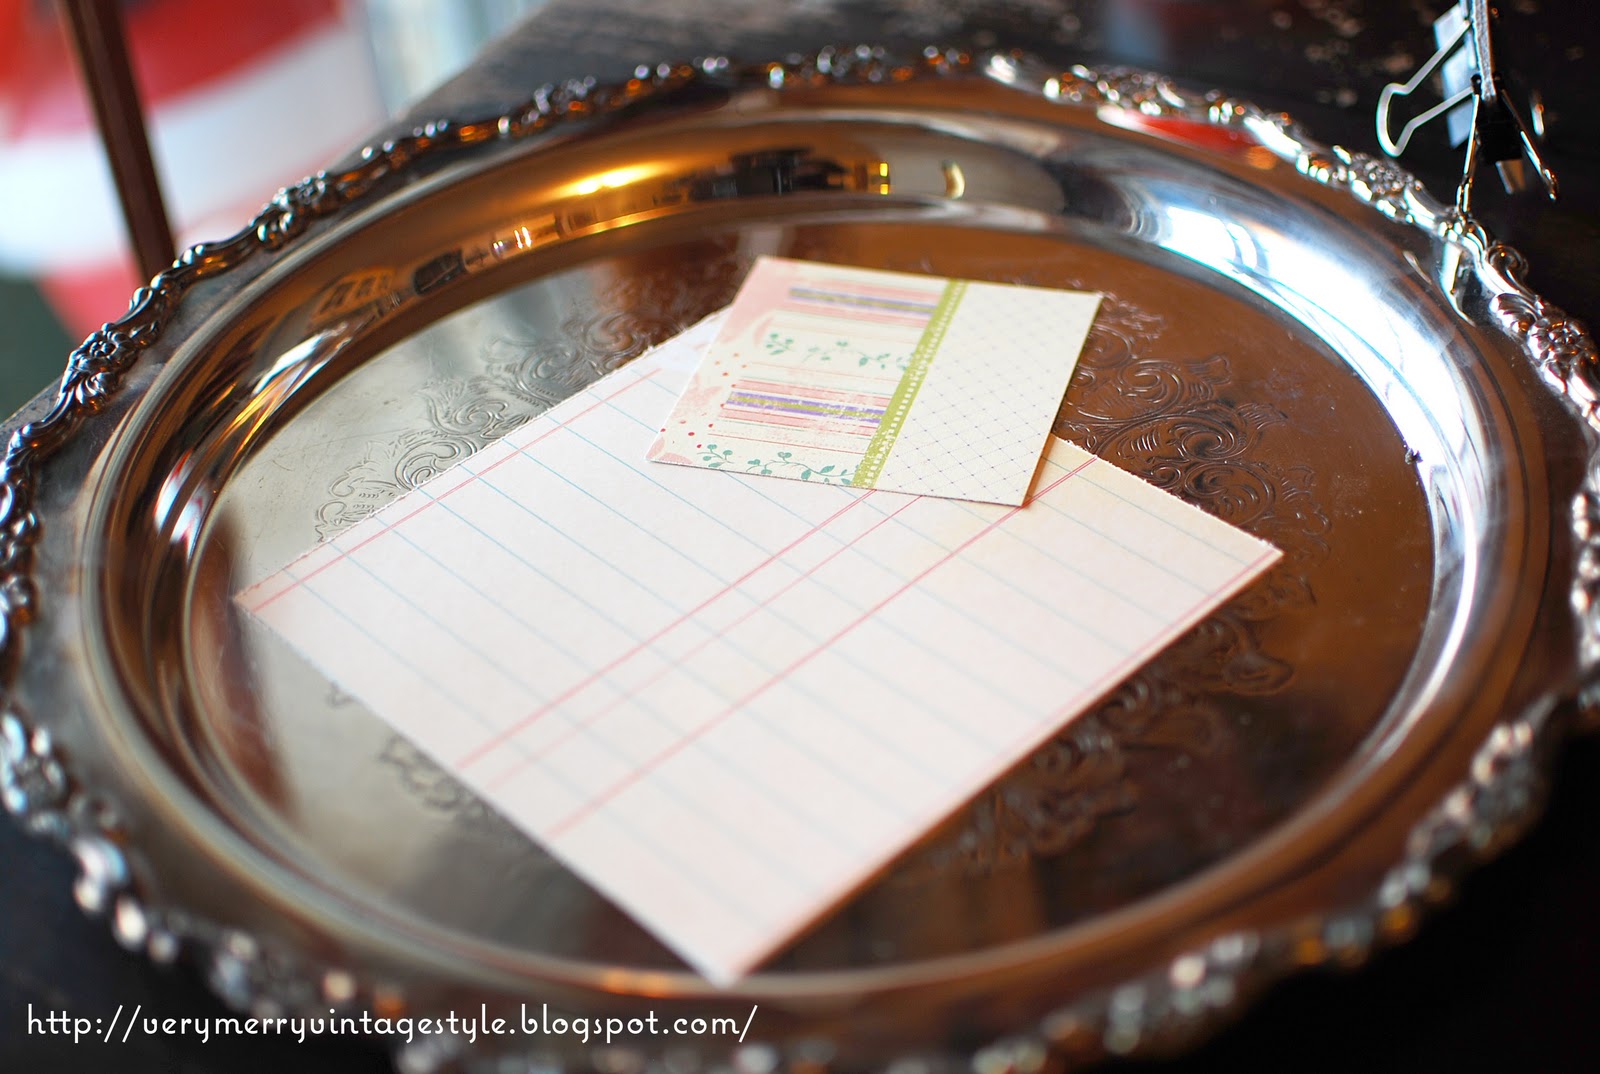
When it's dry, you can take the binder clips off and get to the fun part! Cut a 5 1/2" square from one of your printed papers, and a 3" square from another coordinating paper.
I used some foam adhesive on the back of the smaller piece of paper to give it some dimension as well as adhere it to the other paper. You don't have to use it, you can use rubber cement or adhesive squares if you like. Be careful with regular glue, it might wrinkle up your paper.


I added a heavier cardstock backing to the printed paper to give this calendar some weight I cut this piece of card stock just a little bigger, it's a 5 3/4" square. If you wanted to send this as a greeting card, you could use a 5 3/4" x 11 1/2" piece of card stock folded in half and put your message inside the card.
I used a hot glue gun to attach a small ribbon to the back so I could use a push pin to hang the calendar on a bulletin board without piercing the paper.
I'd love to see your projects using the printable calendar--send me an email or a link!
PS... I'm working on a Recap post with photos of finished projects. If you can't wait, head on over here to see the one below Pam did at House of Hawthornes!

Note: the R used for Thursday is intentional. I always thought this was a pretty common thing Since T is already taken by Tuesday.but I have gotten some comments on it's origin. I always remember from college that Tuesday/Thursday classes were always designated with a TR or Thursday only was R. I do like the comment below that R designates a day of rest... wouldn't that be nice midweek?
NOTE: THE 2012 CALENDAR DOWNLOAD IS FOUND HERE
 You will need Adobe Acrobat Reader to view these PDF's. Click here to download if you do not already have this free program on your computer.
 Linking this post to parties on my sidebar and below. Check out these links for more great ideas you'll love!


